While advertised as a product for children, most commercial crayons are full of toxic substances not suitable for the hands of little ones. With that in mind, there’s a better way to give your child an artsy childhood experience without the chemicals. Although you might be unfamiliar with making art supplies at home, this guide to making homemade crayons using beeswax is all the knowledge you’ll need for a fun, family-friendly project.
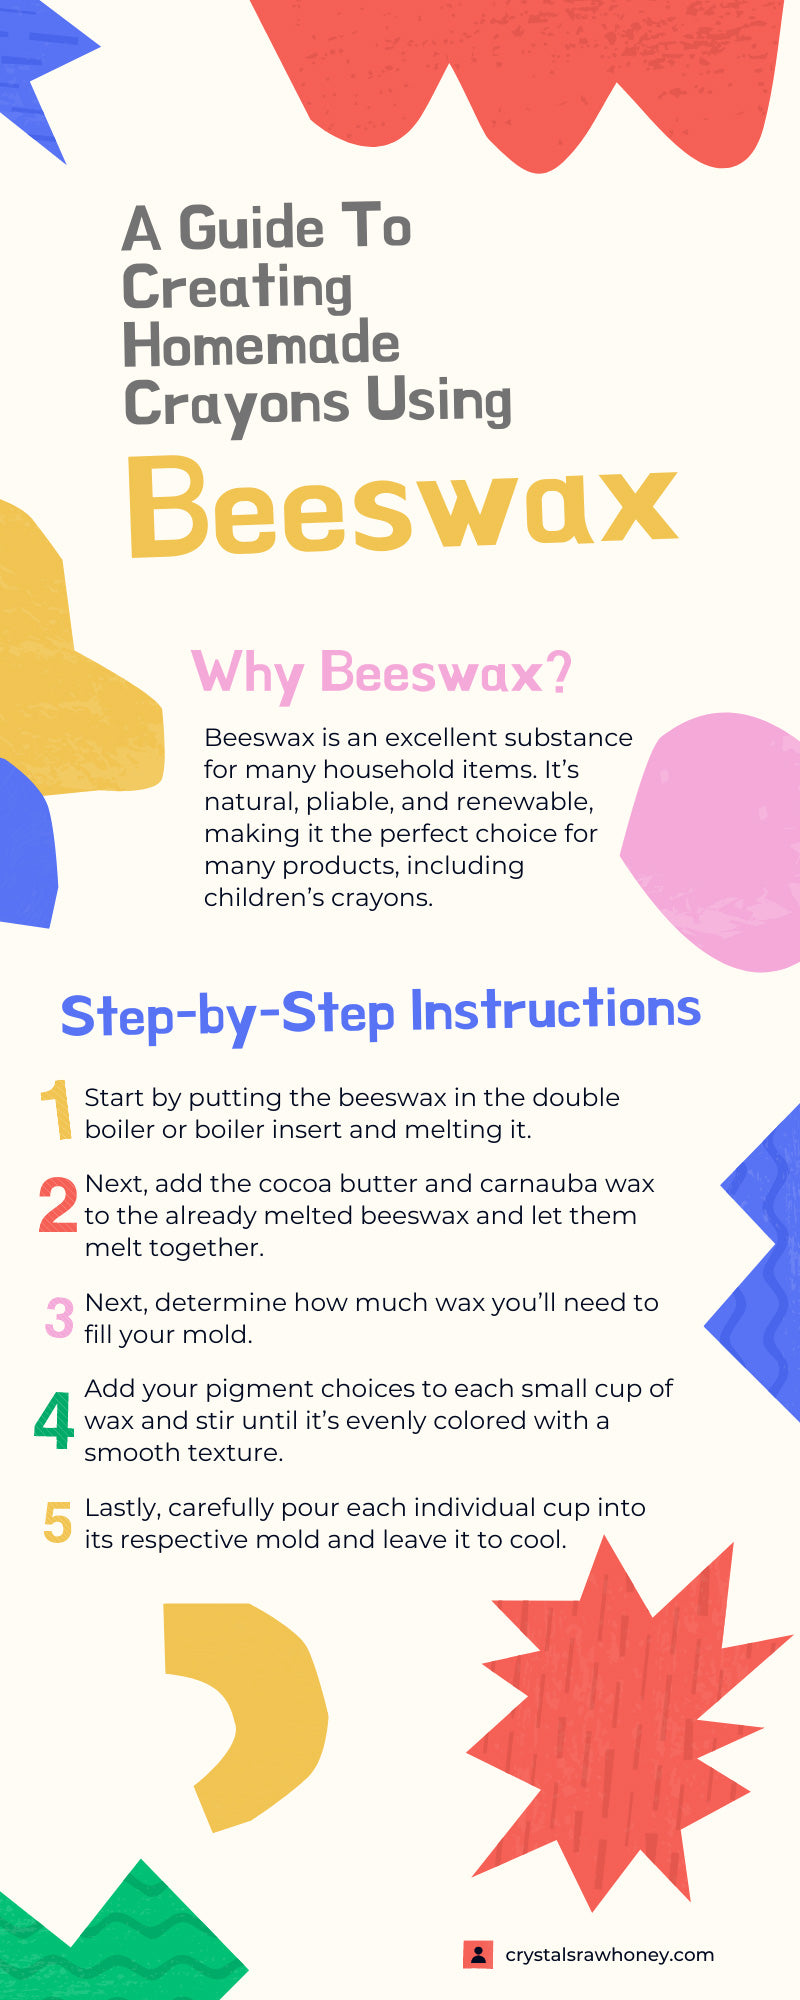
Why Beeswax?
Most popular crayon brands use paraffin wax, which is a petroleum product. Beeswax comes from honey bees, and it’s directly from the hive. Honey bees produce the wax themselves and use it to build combs to store their honey. However, they often make more than they need, making it possible for beekeepers to collect it from the hive without causing damage.
As a result, beeswax is an excellent substance for many household items. It’s natural, pliable, and renewable, making it the perfect choice for many products, including children’s crayons.
Beeswax and Carnauba Wax: The Dynamic Duo
Although beeswax is a remarkable substance, it’s too soft on its own to make a durable crayon. On the other hand, carnauba wax—which comes from Brazilian palm tree leaves—is too hard to make crayons.
Combining both waxes creates a substance strong enough to withstand some pressure, but soft enough to produce colorful masterpieces. The mixture remains natural, making these waxes a dynamic duo.
Colorful Pigmentations
Now you know the base substance for making super cool crayons for your little ones, but one requirement of crayons is color. While there are many ways to add pigment to your mixture, the best way is to ground plants or minerals to keep it holistic and natural. Explore a few ways to achieve specific pigments naturally.
Black
You can achieve black pigmentation by mixing activated charcoal with your wax mixture.
Pink
Since beetroot powder is already pink, it makes a perfect choice for pink crayons.
Red
You can’t go without this primary color, and red clay provides the perfect pigment.
Yellow
You might already have it in your spice cabinet, but turmeric makes bright yellow.
Brown
Cocoa powder is a delicious and excellent choice for making brown crayons.
Crayon Molds: DIY or Buy?
While you can find a crayon mold online for relatively cheap, it’s not necessary for this project. In fact, you most likely have many items at home that’ll work just as well. You can use a silicone or plastic ice cube tray, silicone cupcake liners, or a muffin tin. No matter what you use, it won’t impact the quality of your finished product.
Tools and Supplies
Before making beautiful homemade crayons, use this list to ensure you have all the tools and supplies you need to get the job done.
- Food scale
- Double boiler (or boiler insert)
- Measuring cups
- Wooden spoon
- Crayon molds
- ¾ cup of beeswax
- Six tablespoons of carnauba wax
- Two tablespoons of cocoa butter
- One teaspoon of each color pigment
- Small cups or bowls (one for each color)
- Stirring utensils (one for each color)
Step-by-Step Instructions
Believe it or not, you can make these natural, beautifully-pigmented crayons in five easy steps. Follow these steps as carefully as possible for the best results.
Caution: Keep your children away from the double boiler to avoid spills and burns.
- Start by putting the beeswax in the double boiler or boiler insert and melting it. If necessary, you can do this in the microwave, but a double boiler is the safest method to liquefy the wax.
- Next, add the cocoa butter and carnauba wax to the already melted beeswax and let them melt together. Use the wooden spoon to stir and blend the substances.
- Next, determine how much wax you’ll need to fill your mold. Since the weight of the substance is comparable to that of water, you can fill the mold with water and use your food scale to measure it. Use that measurement to pour the proper amount of wax into your small cups.
- Add your pigment choices to each small cup of wax and stir until it’s evenly colored with a smooth texture.
- Lastly, carefully pour each individual cup into its respective mold and leave it to cool. You must let the crayons cool for at least an hour, but know that they get harder and stronger the longer they sit.
After the crayons sit in the mold long enough, it’s time to take them out and test them on paper! Gently remove them from the molds, and test them yourself before handing them over to your little ones.
Additional Thoughts
Desired Pigmentation
Although you’ll probably have a decent outcome on your first try, you might have to experiment a few times to get the pigment perfect. As a result, it’s not a bad idea to try one or two crayons at first to see if you need to add more colorant or not. After you master your pigmentation, you can try to make different shades of the same color by adding more or less pigment.
Excellent Additives
While the chemicals in most commercial crayons aren’t the best, many people love how they smell. These natural crayons smell incredible on their own, but you can also add to them. Consider using essential oils to add a specific smell to your homemade product. Lavender, tea tree oil, and eucalyptus are excellent options for natural, soothing scents.
Crayon Label Wraps
The paper label on traditional crayons helps prevent color and wax from transferring to the skin. Transfer is more likely to occur with homemade crayons; therefore, you might consider measuring and cutting construction paper to wrap around each crayon. Try brainstorming fun names for each color and adding them to the paper labels!
Hopefully, following our guide for creating homemade beeswax crayons makes the project more straightforward and enjoyable for you. You and your children will love the results, and you’ll never go back to commercial crayons!
Look around your home to see what other household and beauty products you can make yourself using beeswax: the opportunities are endless! While beekeeping and harvesting your own beeswax is always a good option, you can buy bulk raw beeswax from Crystal’s Honey for homemade crayons and many other projects.

